
Get Unstuck.
Take a Step of Faith.
Let God Write Your Story.

Get Unstuck.
Take a Step of Faith.
Let God Write Your Story.


Stephanie’s Heartfelt Stories Create An Instant, Engaging, Connection With The Audience
Stephanie L. Jones, an inspiring speaker acclaimed for her joyful grace, transformative message, and powerful positivity, captivates audiences by weaving faith, giving, gratitude, and personal anecdotes into a journey that motivates change and kindness in everyday life.
She'll use these and other life experiences to customize a speech for your next event!
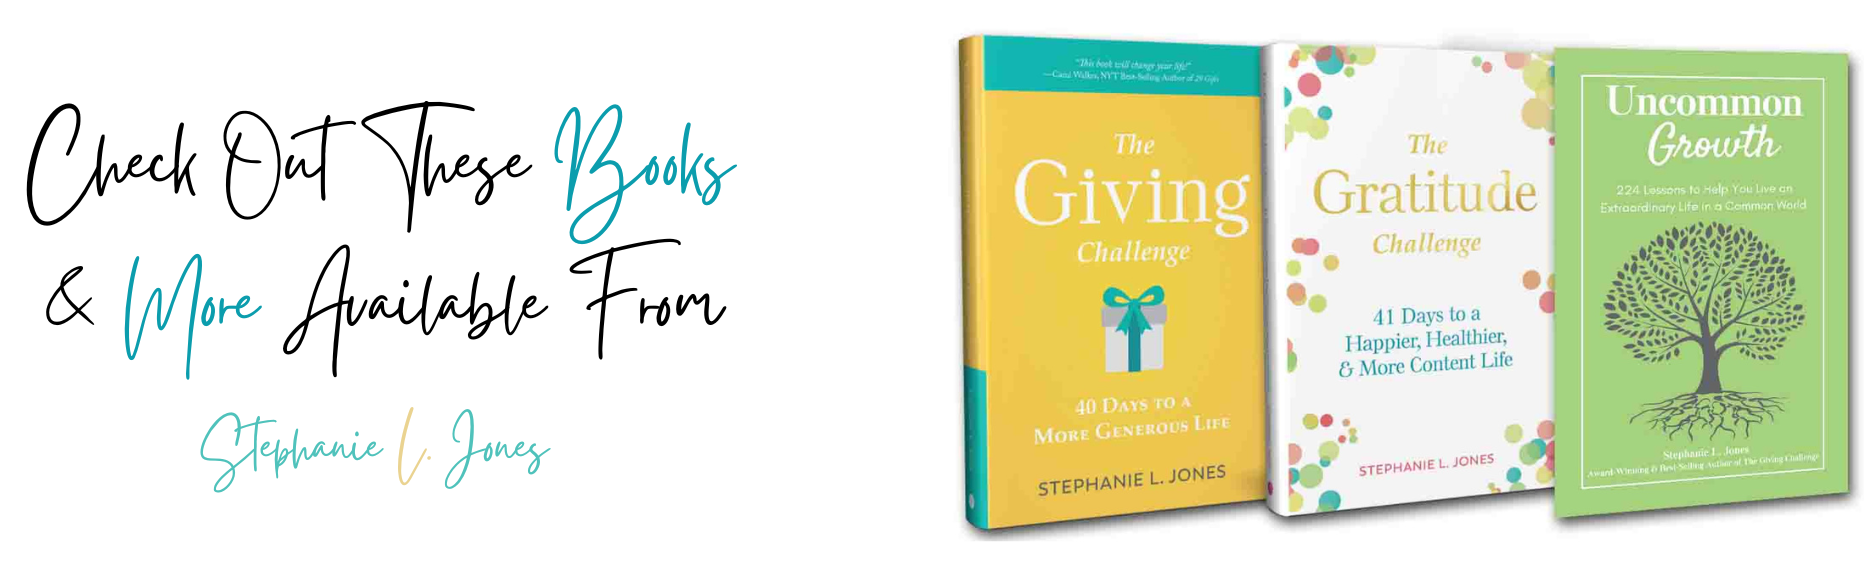

Read Along With The Author! 👇
Want To Teach Your Child The Joy Of Giving?
To Who & Where Should We Send The FREE Giving Challenge For Kids:


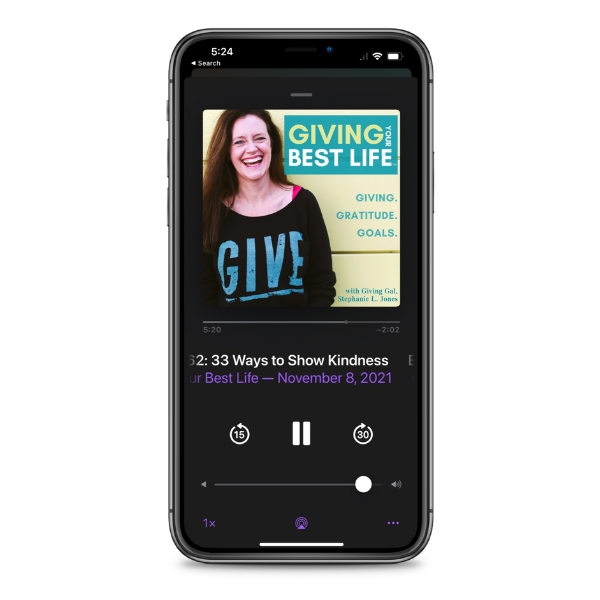
Listen In!
Giving Your Best Life
Podcast
Each episode is filled with encouragement and practical ways to get unstuck, take a step of faith, and allow God to write your story.

Want Weekly Inspiration To Your Inbox?
Let's be friends! Stay up to date with Me...


Leading the way in building and civil construction forever
3210
Projects completed
550
Workers employed
527
Awards winning